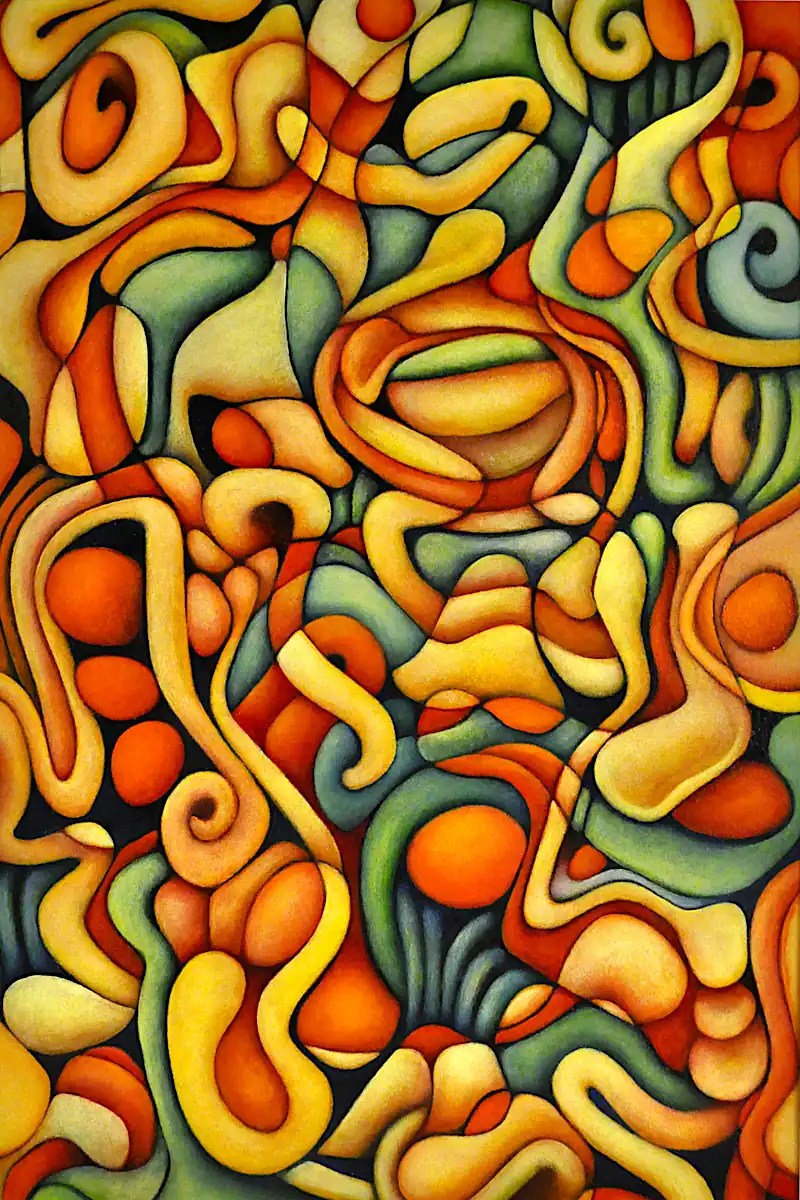
Another painting from my show at S.A.A. This is two older paintings (I’m not quite sure which. 🙂 I tend to do these in very large batches and pick the best half dozen or so.) that I composited together in gimp using the difference layer mode. I flattened and equalized that, converted it to greyscale and printed it on oil paper. Next, I spent an inordinate amount of time painting things in. This is 18×12 inches… oil on paper.
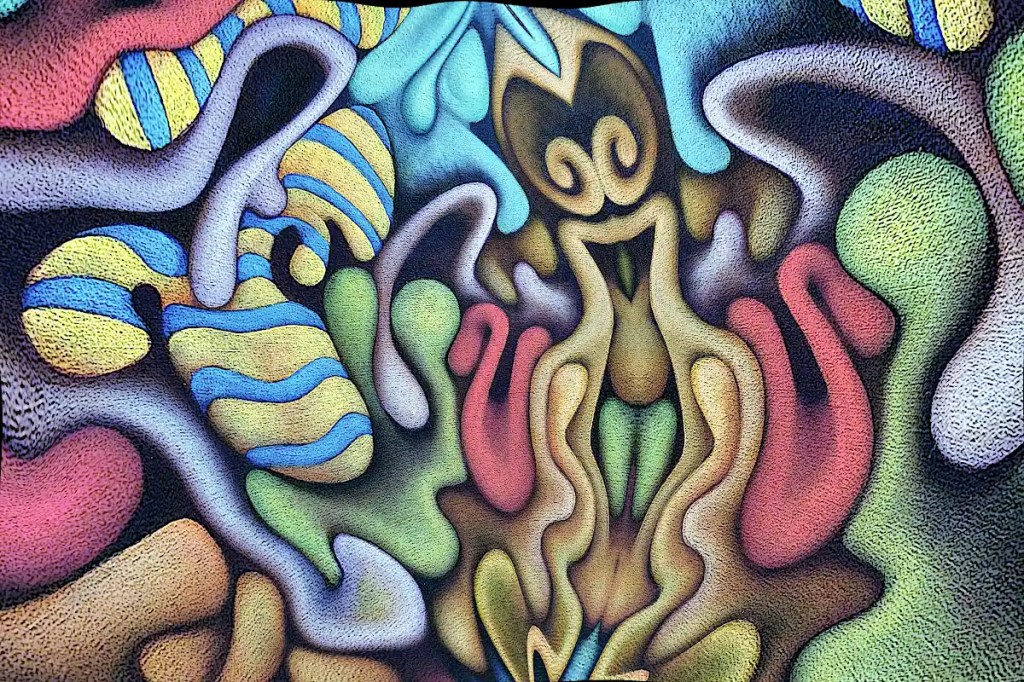
This began life as a photo of “Nefarious Doings Down on the Farm“. As I’ve said elsewhere, I like subjecting my images to the “Little Planet” filter in gimp. This particular image has been mirrored, “planeted”, warped and variously distorted to a fairly high degree. I have a few hundred of these that I fiddle with once in a while. While I was fiddling with this image, I decided that the figure in the center really resembles an evil queen (Probably the source of all of those nefarious doings.) and deserves to be painted as such. I’ve set about doing just that:
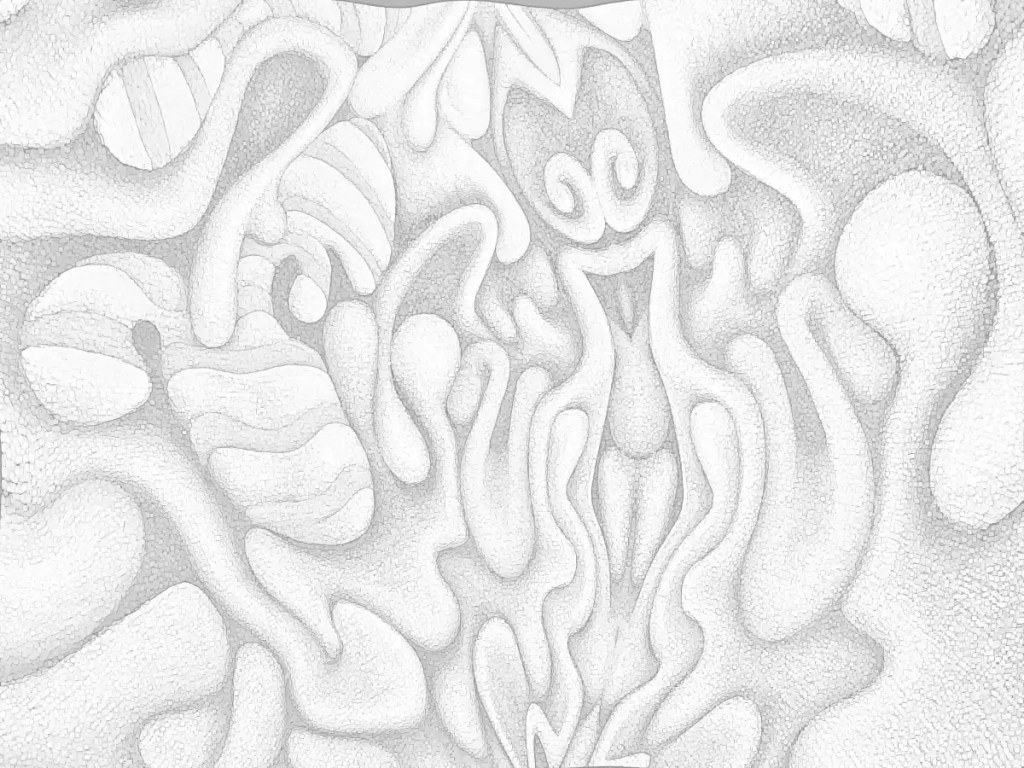
I’d previously run the cartoon filter on this; which looks really cool but imparts a texture that I really didn’t want in the print that I intended to work from. So… I ran gimp’s dilate filter across it… several times. That removed most of it. I ran the cartoon filter again, because it does a nice job of defining the edges of things, then desaturated the image and raised the output levels so that it’s fairly light. I don’t want to waste a huge amount of ink on this and I want to be able to draw on it when I transfer it to the panel and actually be able to see what I’m drawing.
I decided that this needs to be 30×40 inches 🙂 seeing that I just happen to have a couple of 30×40 panels cut. I don’t have a 30×40 printer and the idea of driving downtown to get this printed doesn’t really appeal to me. Optionally, I suppose I could connect the computer to the television and use that as a light table (Hold a piece of paper to your monitor… You’ll see what I mean.). That’s sort of a pain though. Using a projector is just as much of a pain and the “grid method” just isn’t happening. I suppose I could simply re-draw it, seeing that I’ll be making changes to it anyway, but I think I’d probably lose some of what makes it appealing to me. I want a hard copy, so the best option I have is to print this out as tiles, tape them all together, transfer that and so on…
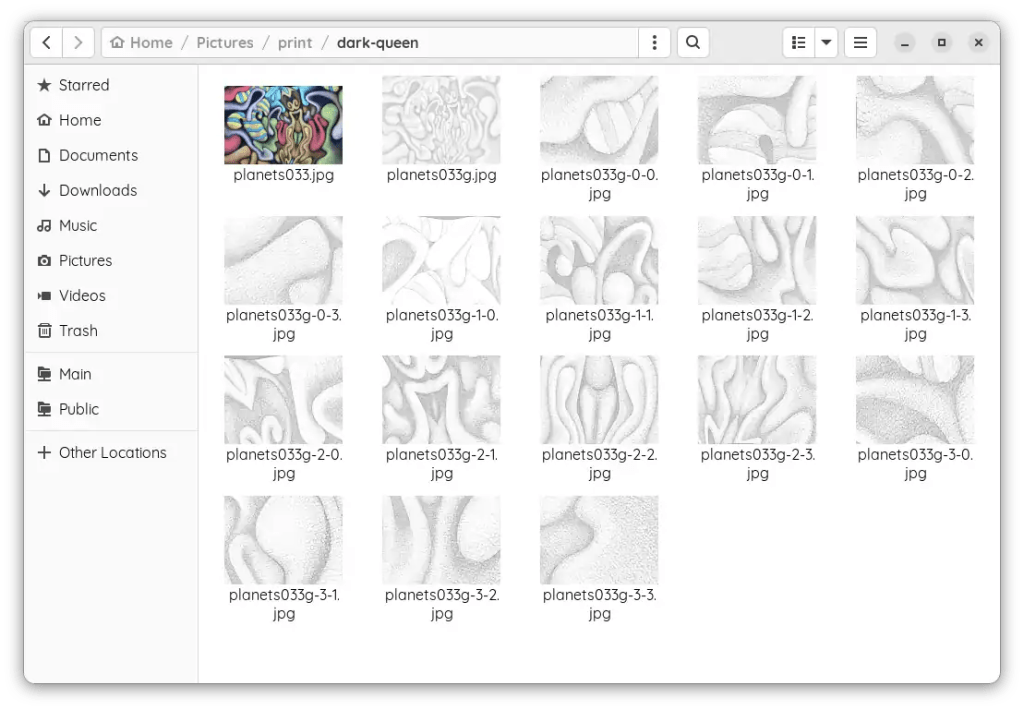
I could use the tiling function in some printing program that does it automatically. That just strikes me as horribly inaccurate though. That leaves me with slicing the thing up and printing pages individually. Many graphic programs offer some sort of “slicing” function. Gimp will let you set guides and slice things that way. So… I scaled this to 30×40 inches at a print resolution of 72. I’m not really looking for high resolution and… ink…
I set the guides, sliced the images and saved them out individually; 16 10×7.5 images. It’s really not as much work as it might seem. The entire process of making the prints took me about twenty minutes. Gimp is nice enough to number them all so you don’t have to play jigsaw puzzle with them when you put them together.
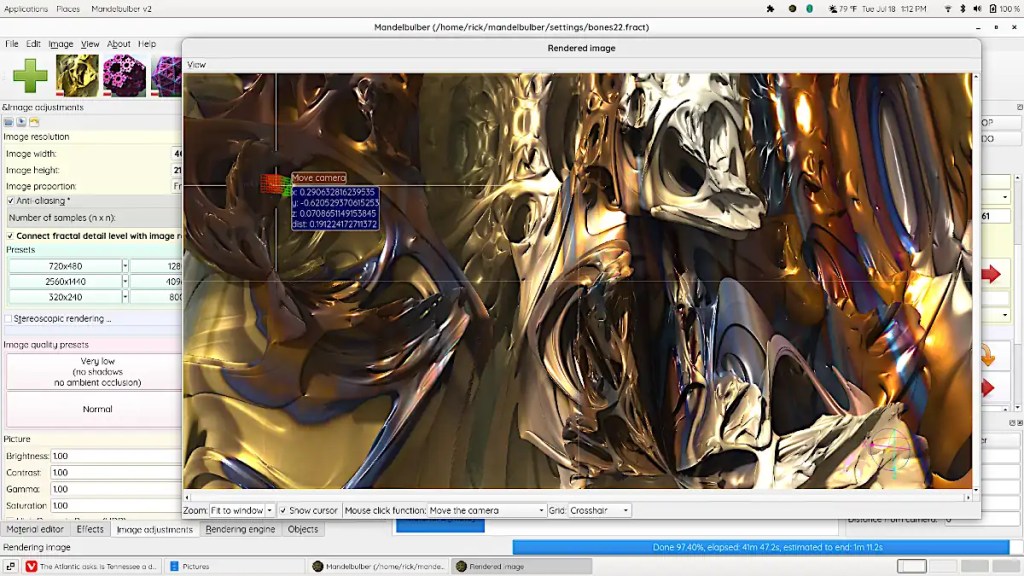
If you’re one of those folk that might be willing or even eager to visit the deepest, darkest depths of graphical insanity… Mandelbulber is for you! On a psychedelic scale from marijuana to L.S.D. (pot being a one and acid being a ten)… this rates somewhere around mescaline.
The program does 3d fractals, and is addictive as hell. It requires a fairly hardcore machine to get any real use out of. A good gaming machine should do you, though… whilst you’re in the throes of your addiction, you might opt to set up network rendering. Mandelbulber will allow you to use a system called “Netrender” to take full advantage of your local LAN or maybe that blade server that you’ve got set up in the basement, but just really haven’t figured out what you’re going to use it for, to create images.
This is not a simple program and it does have an incredibly high learning curve. Thankfully, the developers have done a great job of making the thing as user friendly as possible. Mandelbulber comes with many different fractal types and will let you combine them as hybrid fractals to develop even more. It provides a materials editor similar to those in 3d programs. You can build really complex surfaces with options like specularity, luminosity, transparency, reflection and so on and so on. The program will build fractal animations and will even allow you to animate parameters using an audio file. You can export 3d meshes and voxels to use in 3d programs and printers.
On linux, you can probably install this from your local repository. There is an AppImage available as well. The program’s also available for Windows and OSX. You can download it here. It’s open source; if you feel like contributing to the actual program, you can.
The image here is fairly simple. It’s a fairly short dive into one of the default types. I’ve used a photo of one of my paintings as a texture and fiddled with the specularity, luminosity and so on.
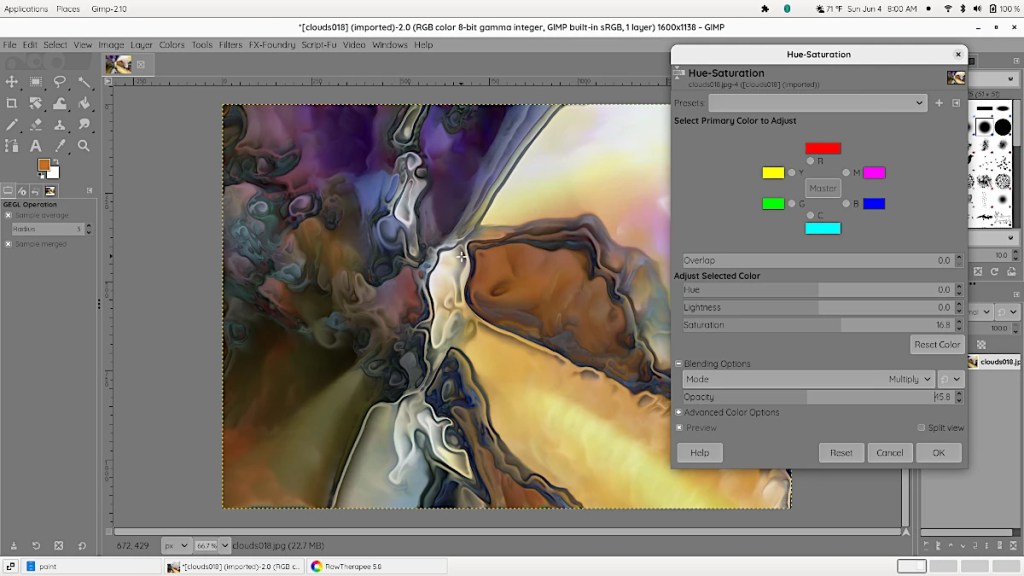
Raw Therapee is a “raw editor” that works similarly to Adobe‘s Lightroom, Darktable and so on. Basically, it’s meant to deal with the large amount of information stored in a raw file. This allows you fine control of the photos you’ve taken of your artwork so that you can get better prints. You can make pretty landscape photos featuring full color sunsets, get appropriate skin tones in your portraits and so on as well.
The program works with several different file formats. This will allow you to screw up images in, um… “nonraw” formats as well. 🙂 Thankfully, it’s non-destructive so you can back off all of the weird little adjustments you’ve made while you were fiddling with stuff.
This thing has a scary amount of depth and a fairly high learning curve. If you do decide to use it you’re going to need the manual. Given what you can do with it… it’s probably worth learning if you deal with digital images. The program features an extensive collection of sharpening filters, noise reduction, a zillion different ways to change your brightness, contrast, gamma, color curves, etc… lens compensation, demosaicing, cropping, sizing and so on. …Most everything under the sun and a few adjustments that only come out at night. Quality is excellent… depending on just how carried away you get with the settings, of course.
Raw Therapee is free. It runs on Windows, MacOS and linux. You can use it as a basic organizer and viewer for your images and run batch processes on them. The program runs as a gimp plugin as well…
I spent far too much time editing photos in this program yesterday. I may not quite be the digital junkie I was back around the turn of the century; I no longer believe that Usenet can save the world, life can be better virtually or that we’ll all be in a symbiotic relationship with a machine in a few years (Despite the IPhone.). I can still manage to be a little obsessive once in a while.
Gimp is a “free” photo editing program. It’s built and maintained by the free software community. Many people from many places around the globe have had a hand in its construction in the years since 1996 when it was introduced. The toolkit it spawned has served as a basis for quite a few programs. Many of which I also use.
Gimp runs on just about every system out there. Personally, I use linux on a day to day basis. I don’t actually dislike Windows or Apple. Chrome Os or Android for that matter. I have a Windows partition on this machine and a Windows machine connected to the printer in the studio. I just prefer the simplicity, functionality and elegance of linux for most things.
This is one of the few editors out there that can actually compete with Photoshop. 🙂 I don’t dislike Photoshop either. I own just about every version of it that came out before the CC license and have made a living with it off and on for many years. It’s an exceptional program. I still have version 2.54 on floppy disks. I also have many of the program’s competitors on floppy. (CD, etc)
In my mind, Gimp is a better solution. It doesn’t wash the dishes or fold your socks. It does do what I want from a photo editor… It edits photos. …Very well.
I did digital art exclusively for many years. Quite a few years back (2010 or so), I got fed up with it, tossed the computers and went back to doing art with traditional media. A couple of years ago, I decided that the decision to erase computers from my life entirely might have been overly hasty and started to integrate them back into my artistic workflow.
Inkscape is a vector editing program. It’s open source, very capable and “free“.
I sort of wonder if the idea of automatism and that of digital drawing are all that compatible. I suppose that’s an artistic, philosophical quandary that I’ll deal with at some point but, for the time being, the program does offer a way of creating “scribbles” that are infinitely editable and that print cleanly and precisely. It’s an experiment that I’m having some good results with.
Doing things digitally gives me results that are strangely modernist. I get the feeling that some of the work would fit into the mid 1950s very well. It doesn’t provide the same sort of release that working with traditional media does. It’s cerebral with nothing really physical involved. There is no “random” to speak of. I’m sort of tempering that by using the drawings as sketches and adding “random”, paint effects and so on with actual paint.