I decided that I needed a few more striped objects to balance things out, repainted all of the greens with a combination of phthalocyanine green and lemon yellow, glazed over the black form with phthalocyanine blue and scrubbed phthalocyanine blue into the shadows here and there; again, for balance. I started on the yellowish form and tried to balance that as well.
The colors are actually a lot more intense in the painting. Seeing that I’m still shooting in near dark to counter the glare… the photo doesn’t show them all that well and turning up the saturation just makes things noisy.
This has gone a little slower than I expected. The simple stuff, that I’d normally paint in without thinking about it, has decided to be difficult. I didn’t think it showed enough progress yesterday to warrant a post.
Black is a color that I typically use for outlines and details. It struck me as necessary in order to convey a “Dark Queen”. It may have been a bad decision. 🙂 It will get glazed over anyway. I think I’ve got things figured out now. At least, I’m pretty sure I know the way they’re going to go.
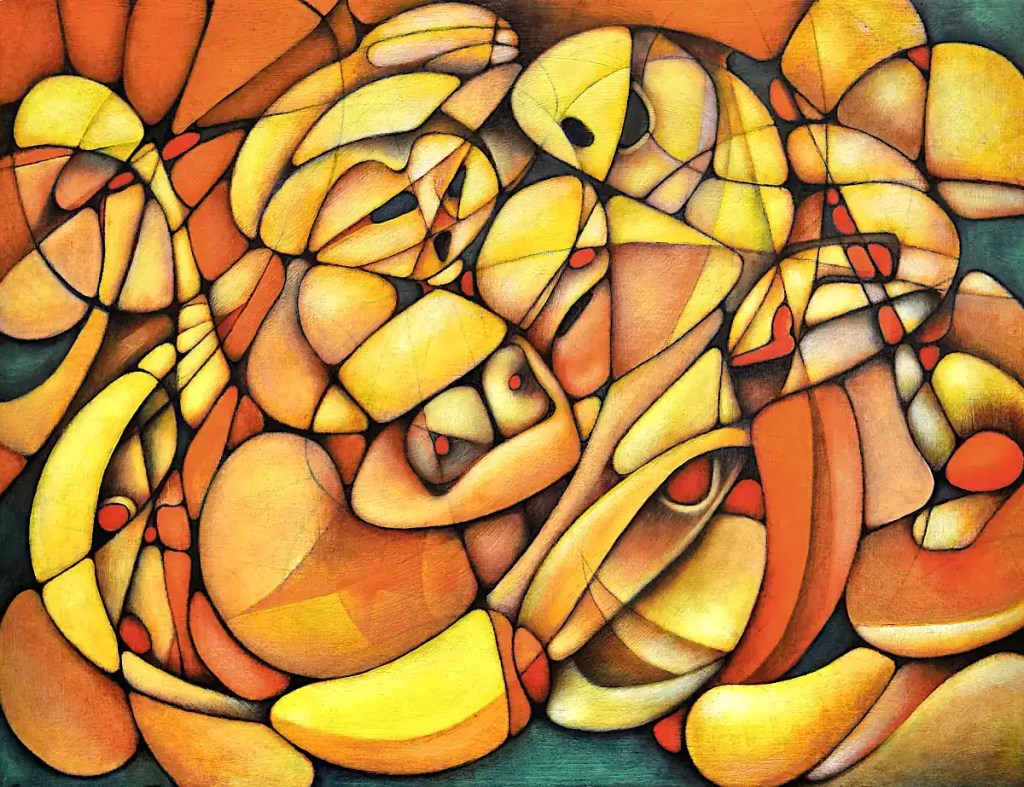
This is a photograph sent to me by this painting’s current owner. I believe she shot it with her cell phone. It is considerably better quality than the images I shot with 35mm film way back when.
The painting is 60×48 inches… Oil on linen. It’s the result of 3 weeks of long days; back when I still had the energy (and economy (or lack thereof)) to work 20 hours and sleep 4 every day. There was no sketch for this… I went straight to paint with it. It’s painted entirely with a one inch bristle brush, that I bought for fifty cents, at the little hardware store down the street. ( 🙂 It was a phase.)
This may have actually had a title at some point. If it did, it’s long forgotten.
This is all worked in with acrylic paint. I’m working out some of the details. Seeing that the sketch was fairly well finalized when I transferred it… I don’t really need to do a lot of that.
Golden’s open acrylics are formulated so as to emulate oil paints. They are convenient and they do “emulate” pretty well. They don’t quite get it, but they are much nicer than traditional acrylics; they keep longer and work easier.
I am phasing out acrylics aside from a set of basic colors. I don’t actually use them for anything other than underpaintings or “utility” paints. It doesn’t make sense to pay for an additional tube of expensive colors like cobalts or cadmiums. This is something of an attempt to use up some half empty tubes. I’m a little short onearth tones, so I’m skipping a few of the elements in the underpainting. I’ll just go straight to oil. I’ll probably just buy basic sets of Utrecht, Sennelier Abstracts or Blick brand acrylics in the future.
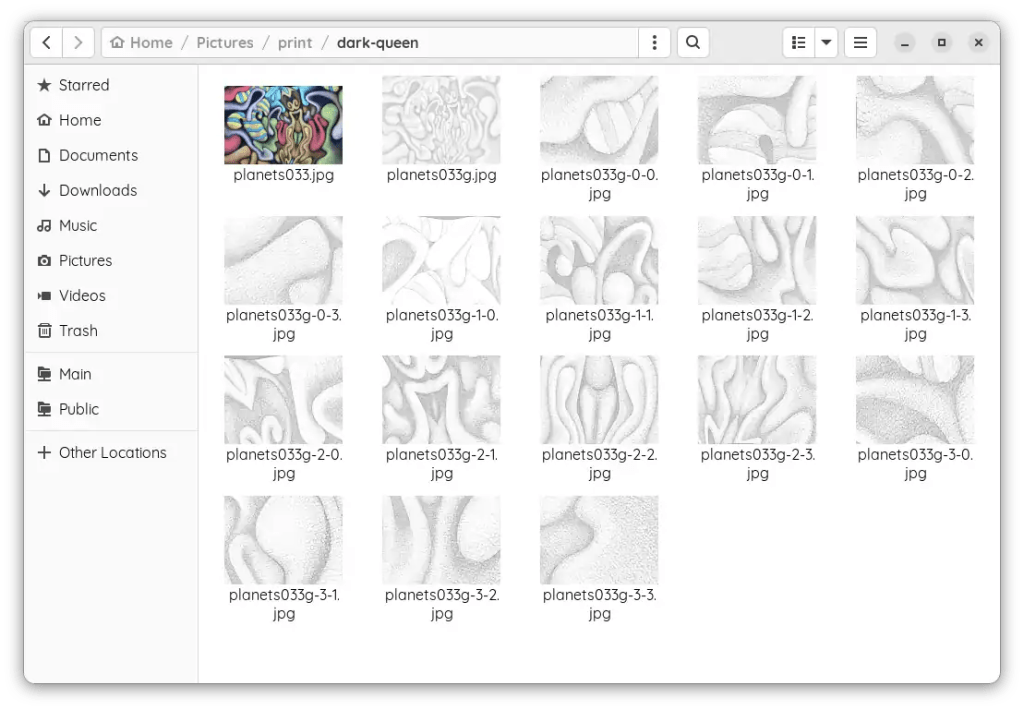
This is the result of going through that whole rigamarole yesterday. I trimmed all of the prints with a paper cutter… Alternately, you can use an X-acto knife and a straight-edge.
After taping all of the prints together with transparent tape, I transferred the drawing using graphite paper (Carbon paper made with graphite.) and a ballpoint. (Ballpoints don’t tear the paper as often when you bear down on them and they give you a lot better reference regarding what you have and haven’t traced.) I re-drew it with water-soluble graphite, sealed that with a light coat of (mostly) water mixed with acrylic medium, sanded it and drew a bit more…
I gave our queen a bit of cleavage (Seemed necessary… she’s “dark”.), a pair of velvet hot pants and striped stockings that reflect a few of the other forms in the painting. I stylized the rest of it and made a few changes here and there, then made an attempt to map out some of the colors with watercolor pencils. It got 2 more coats of acrylic medium. That blended the colors into fairly continuous fields as well as fixing the drawing into the canvas. This dried overnight and got sanded again. (rotary sander… it makes things go much faster. You need to be careful on stretched canvas though.)
I just realized that her robe/hair is going to have to be dark or she’s going to come off as some sort of bouncy, Pollyanna type. I’ll make some color changes this morning… I’m pretty sure how they need to go.
This began life as a photo of “Nefarious Doings Down on the Farm“. As I’ve said elsewhere, I like subjecting my images to the “Little Planet” filter in gimp. This particular image has been mirrored, “planeted”, warped and variously distorted to a fairly high degree. I have a few hundred of these that I fiddle with once in a while. While I was fiddling with this image, I decided that the figure in the center really resembles an evil queen (Probably the source of all of those nefarious doings.) and deserves to be painted as such. I’ve set about doing just that:
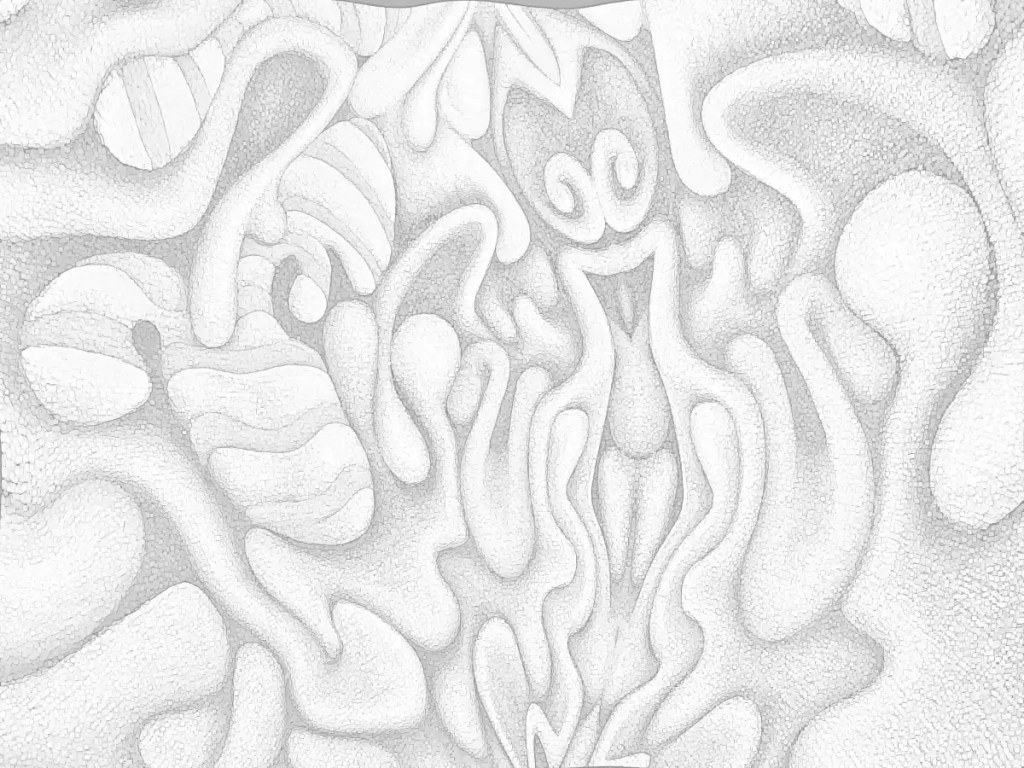
I’d previously run the cartoon filter on this; which looks really cool but imparts a texture that I really didn’t want in the print that I intended to work from. So… I ran gimp’s dilate filter across it… several times. That removed most of it. I ran the cartoon filter again, because it does a nice job of defining the edges of things, then desaturated the image and raised the output levels so that it’s fairly light. I don’t want to waste a huge amount of ink on this and I want to be able to draw on it when I transfer it to the panel and actually be able to see what I’m drawing.
I decided that this needs to be 30×40 inches 🙂 seeing that I just happen to have a couple of 30×40 panels cut. I don’t have a 30×40 printer and the idea of driving downtown to get this printed doesn’t really appeal to me. Optionally, I suppose I could connect the computer to the television and use that as a light table (Hold a piece of paper to your monitor… You’ll see what I mean.). That’s sort of a pain though. Using a projector is just as much of a pain and the “grid method” just isn’t happening. I suppose I could simply re-draw it, seeing that I’ll be making changes to it anyway, but I think I’d probably lose some of what makes it appealing to me. I want a hard copy, so the best option I have is to print this out as tiles, tape them all together, transfer that and so on…
I could use the tiling function in some printing program that does it automatically. That just strikes me as horribly inaccurate though. That leaves me with slicing the thing up and printing pages individually. Many graphic programs offer some sort of “slicing” function. Gimp will let you set guides and slice things that way. So… I scaled this to 30×40 inches at a print resolution of 72. I’m not really looking for high resolution and… ink…
I set the guides, sliced the images and saved them out individually; 16 10×7.5 images. It’s really not as much work as it might seem. The entire process of making the prints took me about twenty minutes. Gimp is nice enough to number them all so you don’t have to play jigsaw puzzle with them when you put them together.
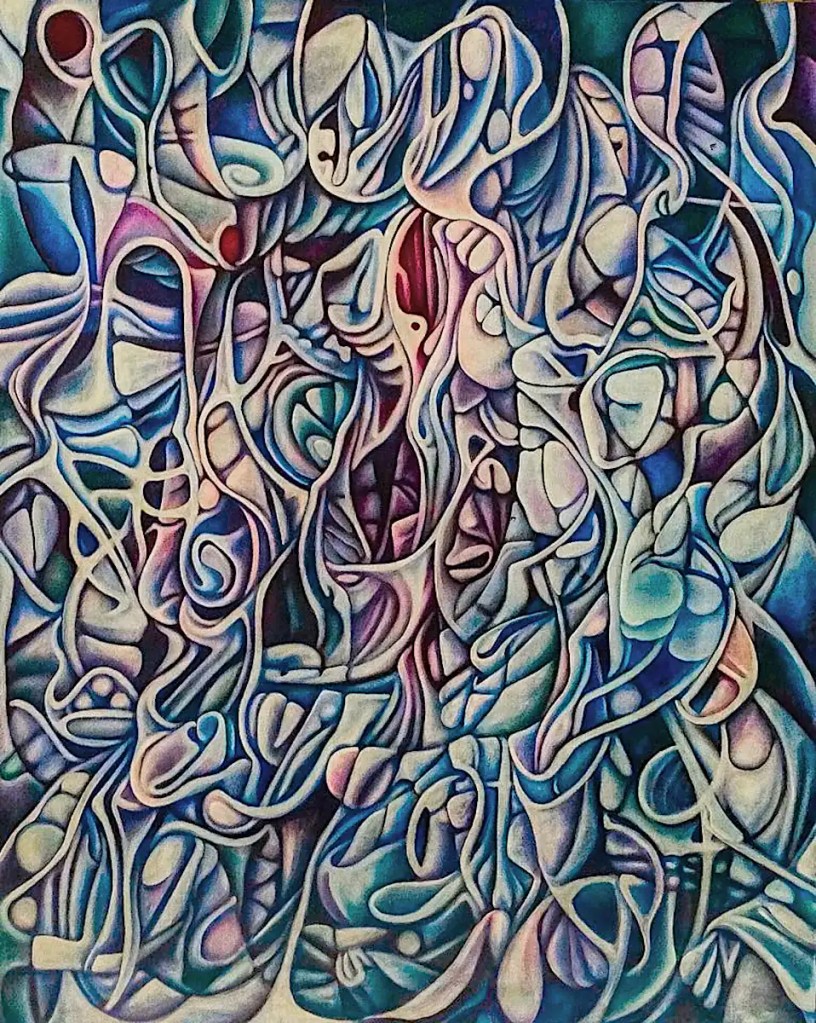
This is 20×41… Oil on canvas. It started out as an automatic drawing that ended up as more of a framework for the figures than anything else. Most of them are consciously developed. The focus here is on the figures themselves, color interactions and using the stripes to define the contours.
I occasionally do fantasy style images that derive from a hypothetical farm. It has a small cast of recurring characters and gives me a sort of base construct to place things in to as well as a place to develop narratives and so on. This draws from that a bit… hence the title. The “Nefarious Doings”? 🙂 They’re in there.
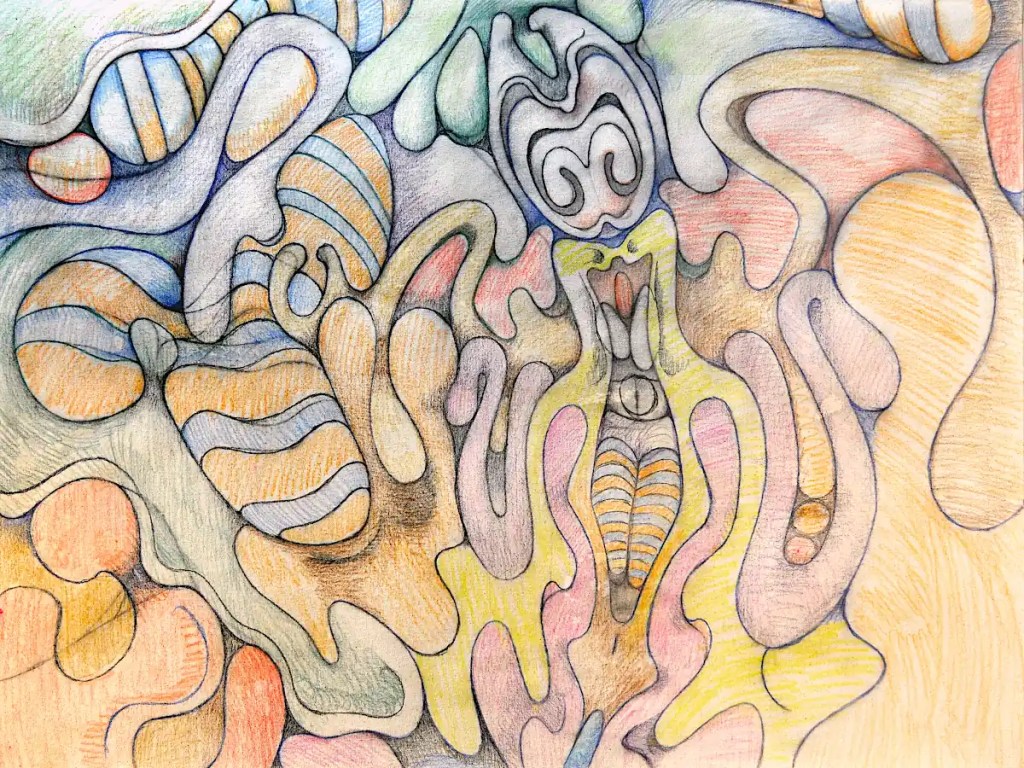
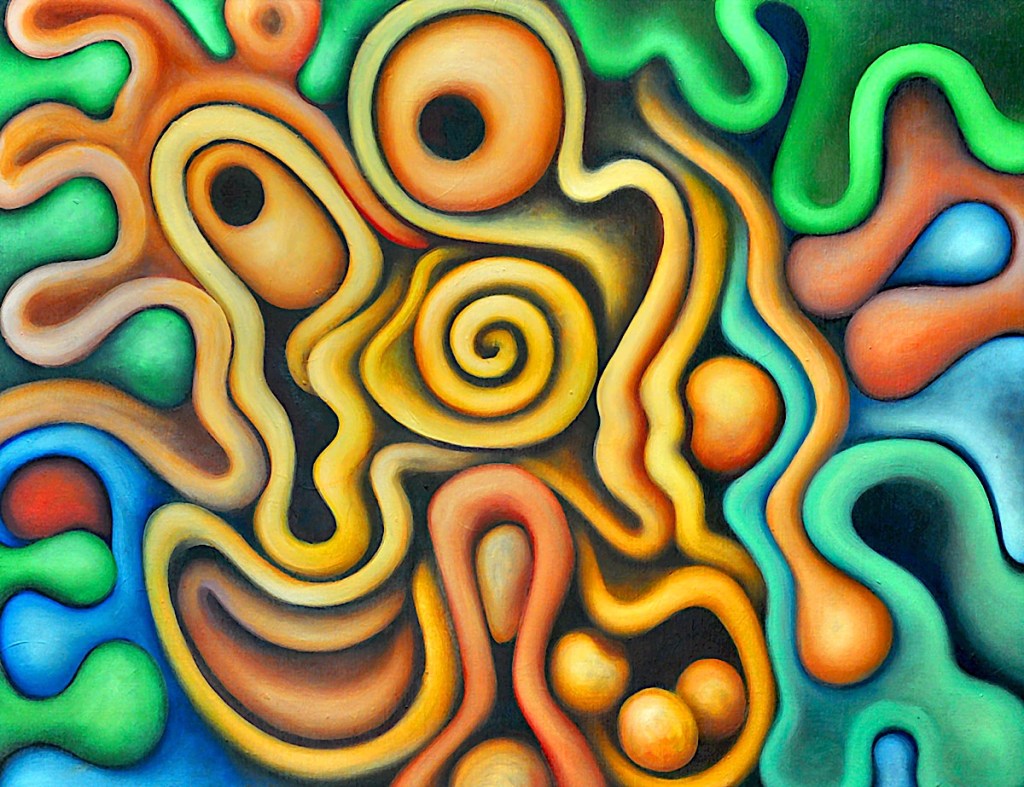
The title kind of says it all; though that particular Friday was a while ago. This is an automatic drawing that I’ve added a few straight lines to for compositional purposes and pulled a few cartoon-like figures out of.
My focus at the time was on tempering my tendency to overwork stuff… showing process in the painting and leaving some evidence of how it came about. I think the “rough edges” are as important to the painting as the “polish”. I’ve always had an issue with leaving them.
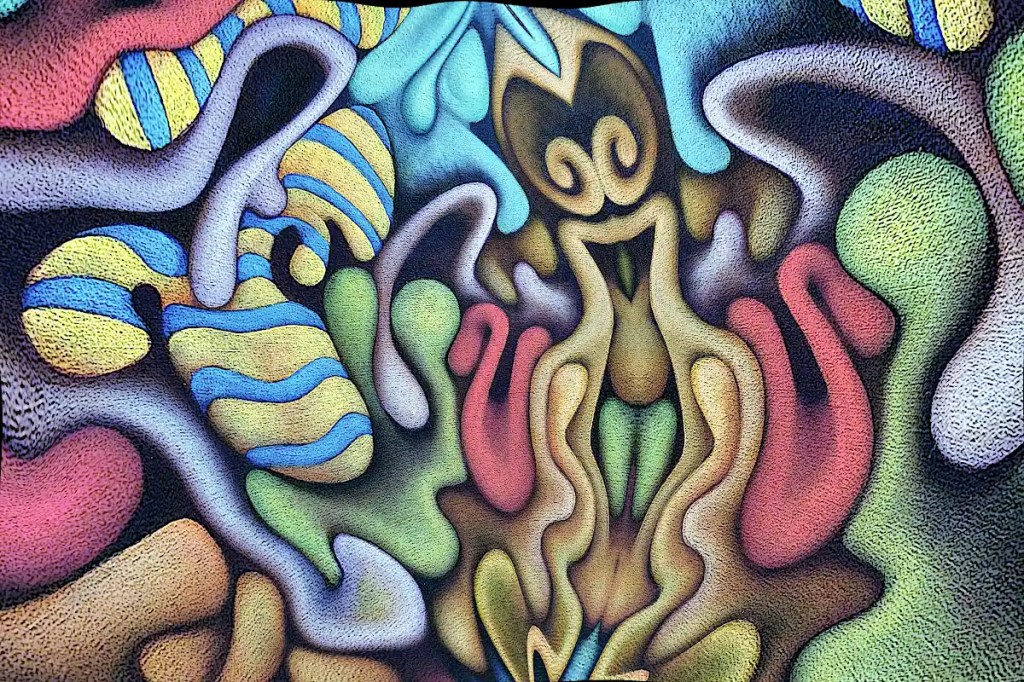
This is an automatic painting with some loose intent behind it.
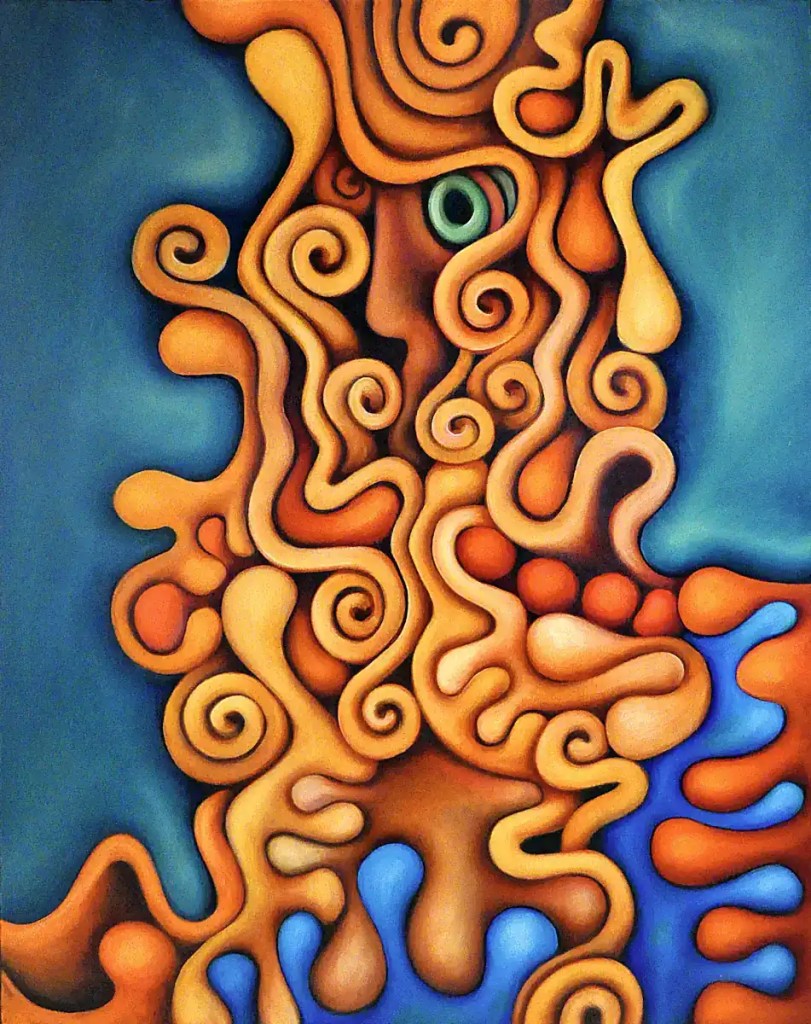
Sometimes it just feels more appropriate to start something with a brush. With a colored ground, you may actually have no choice. (I do tend to do lots of experiments with acrylic paint that at least define a starting point or give things a base color.) Pastels or colored pencils may show up on it and give you a usable drawing but it’s frequently easier to just go straight to paint. It can be a lot more fun as well. I started with circles for eyes, blocked in a loose drawing of a face and let the painting sort of work its way from there.
🙂 “Lunacy” is a sort of recurring theme with me. I’ve done quite a few variations on the idea. It’s inspired somewhat by the faces from older cartoons.